
Of course. Here is a delicious and detailed recipe for Sticky Spicy Baked Chicken Drumsticks.
This recipe creates incredibly flavorful drumsticks with a crispy skin and a sticky, sweet, and spicy glaze that caramelizes perfectly in the oven.
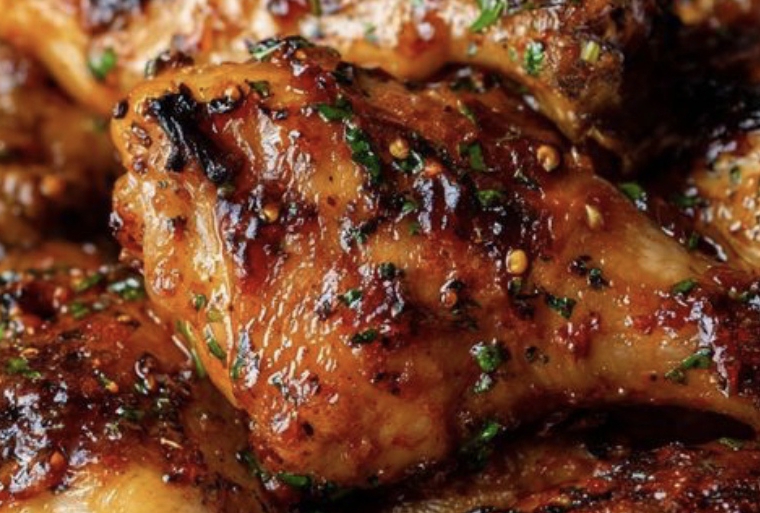
Sticky Spicy Baked Chicken Drumsticks
Yield: 4 servings Prep time:15 minutes Cook time:45-50 minutes Marinating time:30 minutes (optional but recommended)
Ingredients
For the Chicken & Dry Rub:
· 8-10 chicken drumsticks (about 2.5 – 3 lbs)
· 1 ½ tbsp paprika
· 1 tbsp brown sugar
· 2 tsp garlic powder
· 2 tsp onion powder
· 1 tsp salt
· 1 tsp black pepper
· ½ tsp cayenne pepper (adjust to your heat preference)
· 1 tbsp olive oil
For the Sticky Spicy Glaze:
· ⅓ cup hot honey (or regular honey)
· 3 tbsp soy sauce (or tamari)
· 2 tbsp sriracha (or other hot sauce)
· 2 tbsp ketchup
· 1 tbsp apple cider vinegar
· 2 cloves garlic, minced
· 1 tsp fresh ginger, grated (or ½ tsp ground ginger)
For Garnish (optional):
· Sliced green onions
· Sesame seeds
Instructions
- Prep the Chicken: Pat the drumsticks completely dry with paper towels. This is the secret to crispy skin. Place them in a large bowl.
- Make the Dry Rub: In a small bowl, mix together the paprika, brown sugar, garlic powder, onion powder, salt, black pepper, and cayenne. Drizzle the olive oil over the chicken drumsticks and toss to coat. Sprinkle the dry rub mixture over the drumsticks and use your hands to massage it into the skin, ensuring each one is evenly coated.
- Marinate (Optional but Recommended): For the best flavor, cover the bowl and let the chicken marinate in the refrigerator for at least 30 minutes or up to 4 hours.
- Preheat Oven & Prepare Pan: Preheat your oven to 400°F (200°C). Line a large, rimmed baking sheet with aluminum foil for easy cleanup and place a wire rack on top. Lightly grease the wire rack with cooking spray. (If you don’t have a wire rack, you can bake them directly on the foil-lined sheet, but the skin may not get as crispy on the bottom).
- Bake: Arrange the drumsticks on the prepared wire rack, leaving a little space between each one. Bake for 35 minutes.
- Make the Glaze: While the chicken is baking, whisk all the glaze ingredients—hot honey, soy sauce, sriracha, ketchup, apple cider vinegar, garlic, and ginger—in a small saucepan. Bring to a simmer over medium heat, then reduce heat to low and let it cook for 3-5 minutes, stirring occasionally, until it slightly thickens. Alternatively, you can whisk the ingredients in a bowl and microwave for 45-60 seconds until warm and combined.
- Glaze the Chicken: After 35 minutes, remove the drumsticks from the oven. Brush a generous layer of the sticky spicy glaze over each drumstick.
- Finish Baking: Return the pan to the oven and bake for another 10-15 minutes, or until the chicken is cooked through (internal temperature of 165°F / 74°C) and the glaze is sticky and caramelized.
- Rest and Serve: Remove the drumsticks from the oven and let them rest for 5 minutes. Brush with any remaining glaze from the saucepan (make sure to use the glaze you heated, not the brush that touched raw chicken). Garnish with sliced green onions and sesame seeds. Serve immediately.
Chef’s Tips & Notes:
· Crispy Skin is Key: Do not skip the step of drying the chicken skin. Any moisture will steam the skin instead of letting it get crispy.
· Adjust the Heat: Control the spice level by adjusting the amount of cayenne in the rub and sriracha in the glaze. For a milder version, use just a pinch of cayenne and 1 tbsp of sriracha. For extra heat, add a ¼ tsp of red pepper flakes to the glaze.
· The Wire Rack: Using a wire rack is highly recommended. It allows hot air to circulate all around the drumsticks, cooking them evenly and ensuring the skin is crispy on all sides.
· Don’t Burn the Glaze: The sugar in the glaze can burn if exposed to high heat for too long. Applying it in the last 10-15 minutes of cooking allows it to caramelize perfectly without burning.
· Sticky Finger Alert: These are meant to be eaten with your hands! Have plenty of napkins ready.
Enjoy